If you are building an indie game, the cheapest 3D asset is not always the asset with the lowest price. A five-dollar prop that never fits the scene is more expensive than a twenty-dollar pack you can use across ten rooms.
The useful question is not “should I buy assets or hire an artist?” It is:
Which parts of the game should be solved with ready-made assets, which parts need custom work, and where does each dollar create the most visible value?
This guide gives you a simple framework for making that decision without overbuilding your art pipeline.
Start with the role of the asset
Every asset in a game does not deserve the same budget.
A background crate, a forge hero prop, a modular wall kit and a boss weapon all have different jobs. Before you buy or commission anything, put the asset into one of four groups:
- Filler assets — barrels, sacks, boxes, generic furniture, basic clutter.
- Scene-defining assets — forge stations, ritual tables, thrones, altars, large machines.
- System assets — modular walls, doors, floors, roofs, crafting stations, repeatable gameplay objects.
- Identity assets — hero weapons, signature architecture, characters, faction-specific props.
The more an asset defines your game's identity or gameplay, the stronger the case for custom work or a tightly matched asset set.
Generic filler is usually where ready-made assets provide the best value.
When ready-made assets are usually the better buy
Ready-made assets are strongest when speed matters more than uniqueness.
Use marketplace assets when:
- the object is common and does not carry the visual identity of the game;
- you need many environment pieces quickly;
- your team has more programming/design work than art production capacity;
- the asset already fits your technical requirements;
- you can reuse the same visual family across multiple scenes;
- the project is still validating gameplay and may change direction.
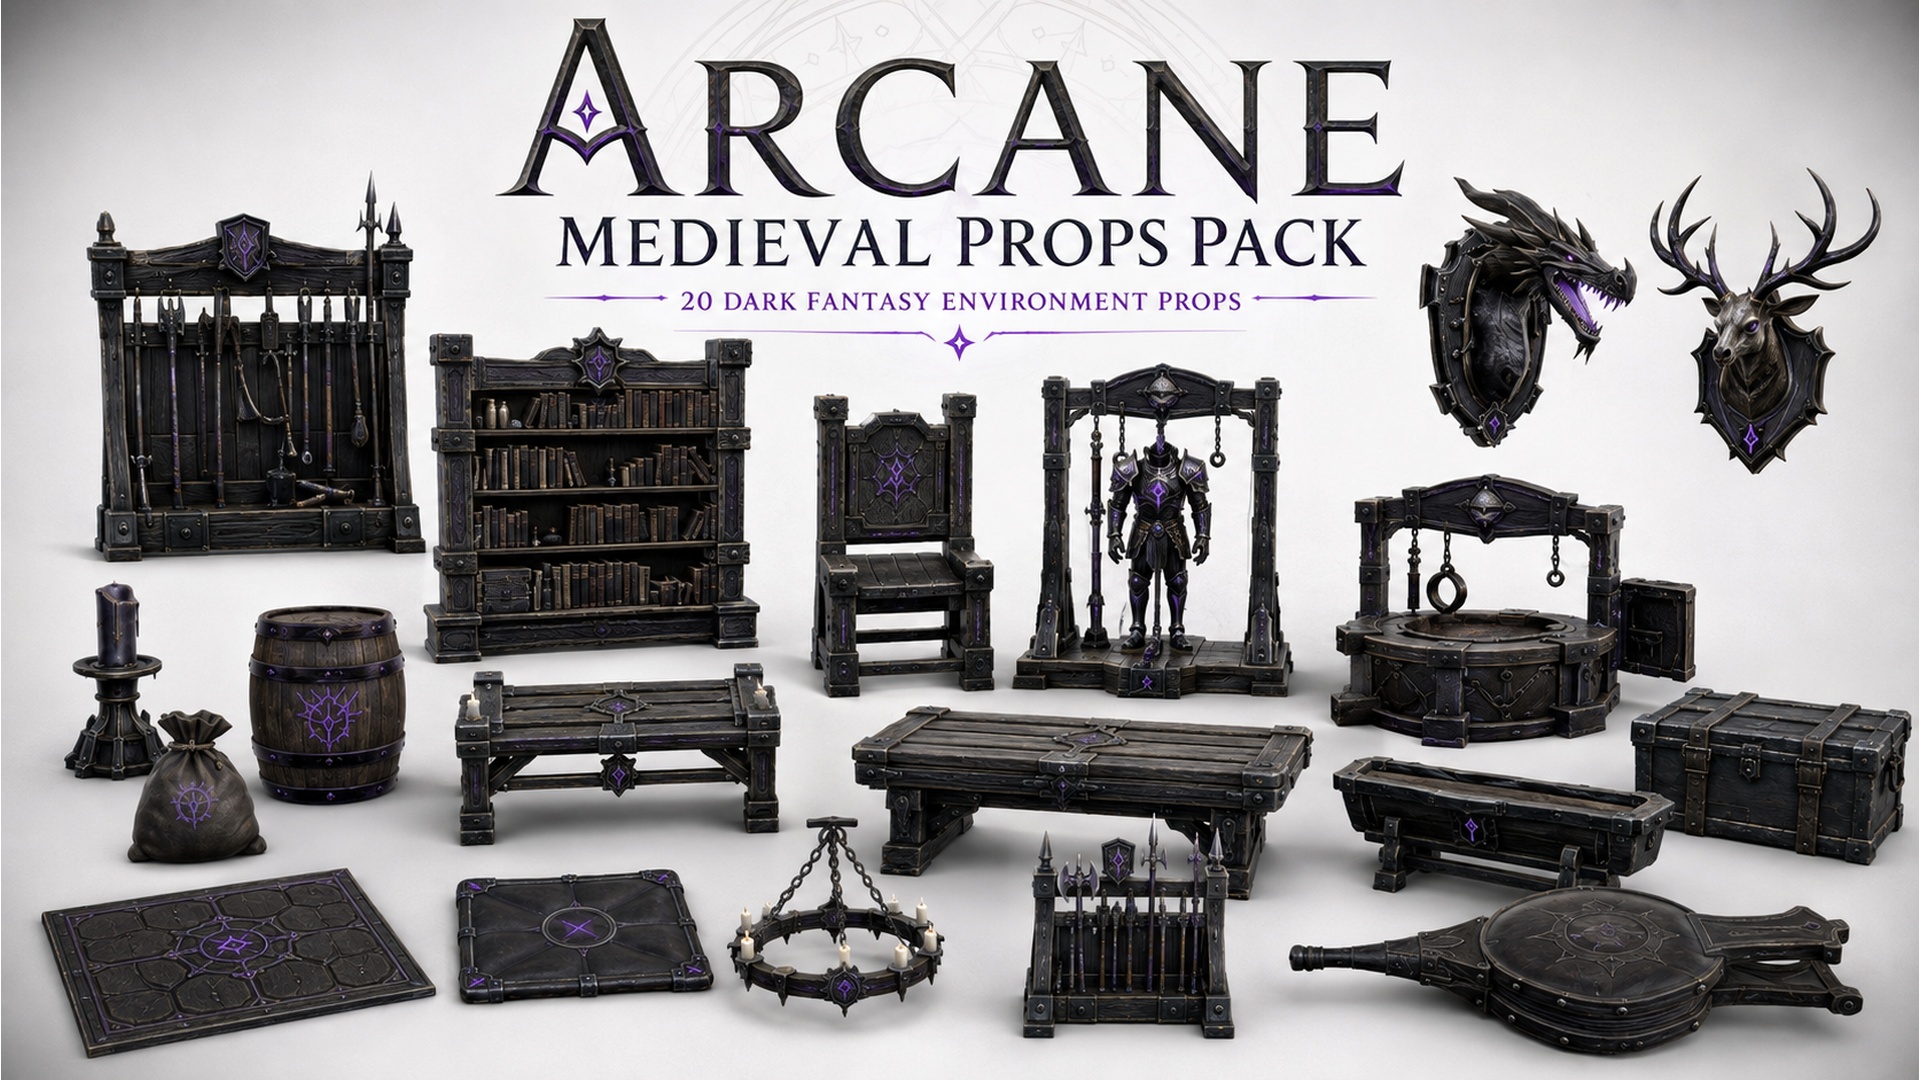
A coherent pack is often more useful than buying ten unrelated singles. The pack gives you shared proportions, materials, color language and detail density without requiring you to art-direct every object manually.
That consistency has production value even before you count the individual meshes.
When custom work becomes worth the extra cost
Custom production makes more sense when the asset must solve a specific problem.
Examples:
- a door must fit an exact modular grid;
- a weapon needs a specific silhouette tied to a faction;
- a crafting station must communicate a gameplay function;
- a building kit needs exact snap dimensions;
- a prop needs to match an existing art direction closely;
- the asset will appear repeatedly in marketing screenshots;
- a purchased model would require so much rework that it is no longer a time saver.
A useful rule is:
If you are already planning to remodel, retexture, rescale, re-UV and rebuild the material setup, compare that effort with simply commissioning the correct asset once.
Custom work is not automatically “premium.” Sometimes it is just the cheaper way to avoid rework.
Use packs for coverage, commissions for gaps
A very efficient indie workflow is hybrid:
Step 1: buy one coherent asset family for the bulk of the environment.
Step 2: build the scene and identify what is actually missing.
Step 3: commission only the missing high-impact pieces.
This avoids the common mistake of commissioning twenty objects before the level design is stable.
It also avoids the opposite mistake: buying fifty random assets and discovering that none of them solve the important visual gaps.
If you are building a fantasy environment, you can use the free Fantasy Scene Pack Builder to test this approach against a real catalog and a starting budget.
Budget by scene, not by individual prop
Thinking one prop at a time makes it easy to lose track of the total environment cost.
Instead, set a budget for the scene.
For example, a blacksmith room may need:
- one hero forge;
- one work surface;
- one cooling/quenching object;
- one or two storage pieces;
- one rack or display object;
- small supporting clutter.
Once the scene has a budget, you can decide where the money belongs.
If the hero forge defines the room, spend more there and use simpler supporting assets around it. If the room is only a background space, the opposite may be correct.
The same logic works for alchemy labs, armories, ritual rooms, taverns and modular buildings.
For a faster estimate, use the game asset budget planner before you start buying.
Do not pay twice for the same visual job
One of the easiest ways to waste an art budget is buying overlapping assets.
Before purchasing a new prop, ask:
- Does something I already own fill the same visual role?
- Is this object actually visible in gameplay?
- Does it add a new silhouette or only a minor variation?
- Will it be reused in several locations?
- Is it part of a larger pack that would replace other planned purchases?
A good pack reduces duplication. A bad shopping session creates three almost identical tables, four incompatible barrels and a pile of unused decorative pieces.
Consistency is a budget multiplier
Two assets can be individually good and still look bad together.
The main consistency checks are:
- proportion and scale;
- edge softness and bevel language;
- material roughness;
- color saturation;
- texture density;
- amount of surface detail;
- damage and wear style;
- magical or emissive intensity;
- silhouette complexity.
If those systems clash, the player reads the scene as assembled from unrelated sources.
That is why one coherent ten-model set can produce a more professional environment than thirty individually impressive assets from different art directions.
Spend first on assets that appear in screenshots
For small studios, game art is also marketing art.
Your Steam capsule, screenshots, trailer and social posts all reuse the same environments the player sees.
That means assets with high screenshot exposure have double value:
- they improve the game;
- they improve the material used to sell the game.
If you have limited budget, prioritize:
- large foreground props;
- hero architecture;
- recognizable weapons;
- crafting stations;
- focal lighting or ritual elements;
- repeatable modular building pieces.
Spend less on objects that are usually behind the camera or heavily occluded.
A simple buy-or-commission score
For any important asset, score each item from 0 to 2:
| Question | 0 | 1 | 2 |
|---|---|---|---|
| Must it be unique? | No | Somewhat | Yes |
| Must dimensions be exact? | No | Helpful | Critical |
| Is it gameplay-critical? | No | Supporting | Core |
| Will it appear in marketing? | Rarely | Sometimes | Often |
| Is a matching marketplace asset easy to find? | Yes | Maybe | No |
| Would adapting a purchased asset take significant time? | No | Some | A lot |
0–3: buy ready-made.
4–7: compare a pack against a small custom job.
8–12: custom production is usually worth serious consideration.
This is not a law. It is a way to stop making the decision emotionally.
Packs are especially strong for modular production
If your project uses modular environments, matching assets matter more than isolated quality.
Doors, pillars, wall sections, floors and roofs need predictable dimensions. A modular set that shares one grid saves time every time you build a new room.
This is where the real value of a pack is often hidden: not the number of models, but the amount of layout friction it removes.
If you are currently sourcing fantasy or gothic pieces, browse the current ready-made catalog and compare sets before commissioning isolated objects.
What to include in a custom 3D brief
When you do commission an asset, reduce ambiguity before work starts.
A useful brief should include:
- reference images;
- target engine;
- required file format;
- approximate real-world scale;
- target art style;
- expected texture resolution;
- whether the object must be modular;
- whether collision is needed;
- whether animation or rigging is needed;
- any polygon or platform limits;
- required deadline;
- what existing assets it must match.
The clearer the brief, the less paid time is spent correcting assumptions.
Knit of Shadows also offers small custom 3D prop and themed-set packages for projects that already know what gap they need to fill.
The most efficient art budget is usually hybrid
For many indie projects, the best answer is not “marketplace” or “custom.” It is both.
Use ready-made assets to cover the broad environment quickly. Use custom work only where identity, dimensions or gameplay demand it. Keep the number of visual families small. Reuse coherent packs aggressively. Spend the most on the objects that players and potential buyers will actually notice.
That approach gives you more finished game per dollar than treating every prop as a separate art problem.
Quick decision checklist
Before spending money on the next asset, answer these five questions:
- Does this object solve a visible scene or gameplay problem?
- Can a coherent pack solve several future needs at once?
- Does it match the visual language I already use?
- Is adaptation cheaper than commissioning the correct version?
- Will this asset be reused or shown prominently?
If you cannot answer at least three of those clearly, delay the purchase until the scene itself tells you what it needs.
Useful next steps: try the Fantasy Scene Pack Builder, browse ready-made 3D assets, or review custom 3D options.
These current Fab listings fit the production topic discussed above.
Fantasy Dungeon Stalactite Ceiling — $4.99 →
Fantasy Ancient Worn Satchel — $4.99 →
Fantasy Gothic Arcane War Banner — $4.99 →
If the catalog is missing a specific piece, review the custom 3D scope and send a focused request.
Request a custom asset →